How to check CPU temp Windows 11: Working consistently for long hours and using multiple software can make your PC generate heat, which can eventually make your PC slower. Also, this heat can also affect other components of your PC.
Most of the time, your PC can tolerate this heat to a specific limit, but if your CPU exceeds this limit for a very long time, you may face some severe issues. To be safe from this damage, you may need to monitor the temperature of your CPU on a regular basis. Therefore, we show you how to check CPU temp Windows 11, let’s get started.
How to check CPU temp Windows 11
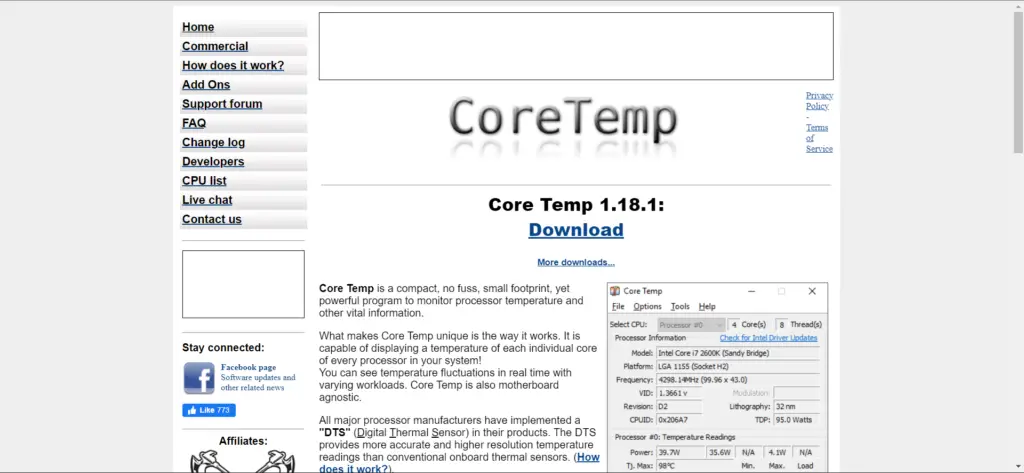
The easiest way to monitor your PC’s CPU temperature is to install Core Temp. One can also check CPU temperature by using Windows’s very own BIOS/UEFI tools.
Below are steps to install Core Temp and to know How to check CPU temp Windows 11,
Step 1: Download Core Temp from it’s official website
Step 2: Install it on your PC
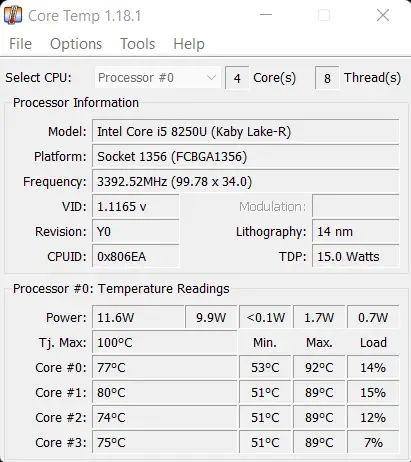
Step 3: After installation, open the Core Temp application
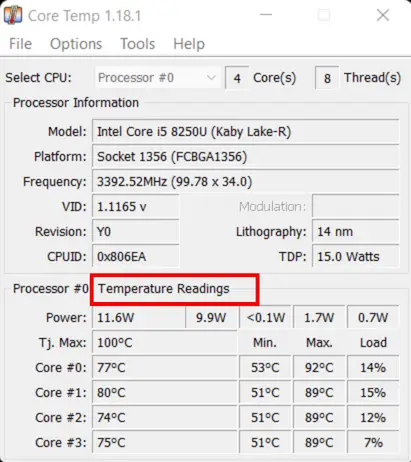
Step 4: In Core Temp software, look for “Temperature Readings”
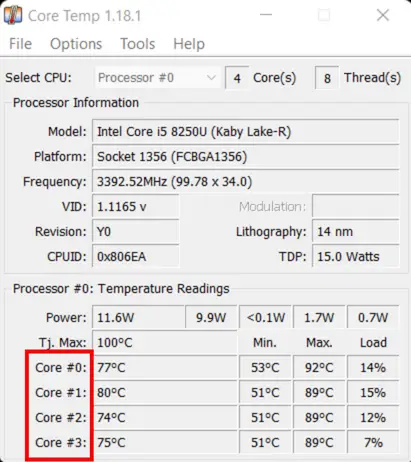
Step 5: In “Temperature Reading” you can see different cores of your CPU with it’s current temperature
Step 6: In the “Max” column you can see the maximum temperature your CPU is operating at
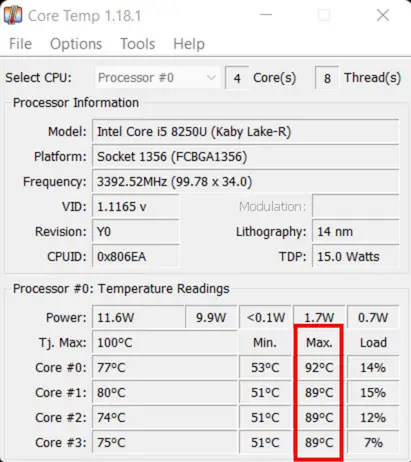
Step 7: In the “Load” column you can see the current CPU load in percentage

Step 8: You can also put shortcut to this software on Toolbar

More Free and Paid Software similar to Core Temp
Though Core Temp is an easy-to-use software to monitor your CPU’s temperature, there is also other software similar to know How to check CPU temp Windows 11. Here is a list of some free and paid software that you can use to check your CPU’s temperature,
HWMonitor: It is a real-time monitor software available for free and also a paid version of it for your PC. It also provides an in-depth look at your PC hardware.
HwInfo: HwInfo gives an overall overview of your PC’s hardware components. It is free software that you can use to monitor the temperature of your PC.
Open Hardware Monitor: It is an open-source software available for Windows to monitor the heat, voltage, and fan speed of your PC.
Solar Winds CPU Load Monitor: It is a paid software for the temperature check.
What CPU temperature is normal for your PC?
The ideal operating temperature for your CPU varies depending on the type of CPU you have. In general, for everyday tasks, a safe temperature range is between 40–65°C (104–149°F). When you’re doing more demanding tasks like gaming or running resource-intensive apps, the temperature can go up to 70–80°C (158–176°F).
If your CPU temperature consistently reaches 80-85°C (176–185°F) or higher without running demanding programs, it might indicate a serious issue. Ideally, when your CPU is not under heavy load, it should stay within the range of about 45-60°C (113–140°F).
For a desktop gaming PC with good cooling and a high-performance CPU, you can expect temperatures around 50°C (122°F) even when not doing anything very demanding. However, on Ultrabooks with compact designs and powerful CPUs, the core temperatures might hover around 75°C (167°F) during regular work tasks.
If your CPU frequently overheats, it’s important to improve your cooling system to prevent permanent damage to your computer. Using reliable PC cleaner software can also help by reducing CPU usage caused by malware and outdated programs.
Conclusion
There are many software available in the market to check the temperature of your PC’s CPU, but Core Temp is what I found very easy to use. You can use any software listed above as per your choice.
Also read:
- How to scan QR codes on Computer – 2 ways and step-by-step guide
- WhatsApp Channels: How to create WhatsApp Channel, join and use channels
- How to download private telegram videos on a Windows PC